
Customizing your chat widget's appearance in bitChat enhances your store's user experience by aligning it with your brand’s identity. Make it more visually engaging and intuitive for your customers. Here’s how to set it up for optimal setting.
Step 1: Access bitChat Appearance Settings
- Go to the bitChat Chat Widget Dashboard and click "Appearance."

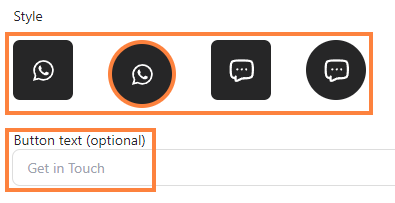
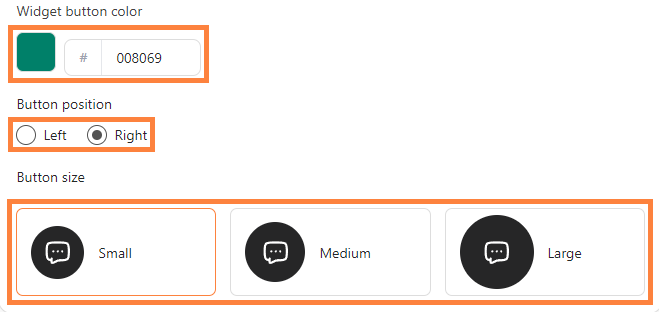
Step 2: Customize Button Widget
- Choose button style and type the button text (optional).
- Adjust "Widget button color," "Button position," and "Button size" as your desired.
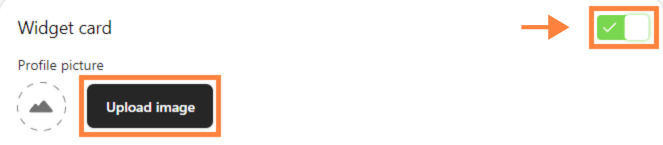
Step 3: Customize Widget Card
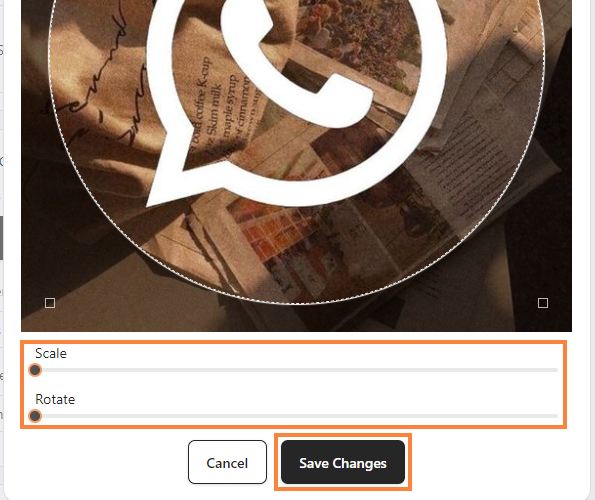
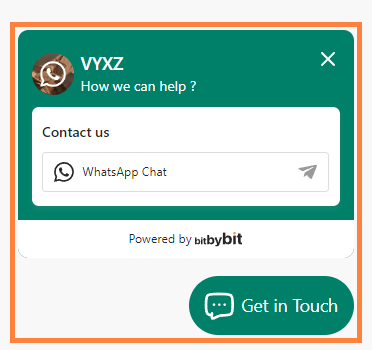
- Click “Toggle” to green, “Upload image” then adjust "Scale" & "Rotate" and click “Save changes”
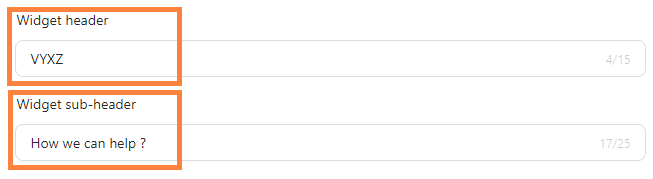
- Fill in “Widget header” and “Widget sub-header”.
- Preview your chat widget on the sidebar.
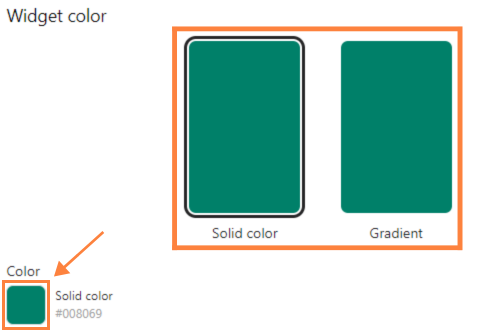
Step 4: Set Widget Color
- Choose between "Solid color" or "Gradient" for the widget background or you can customize by clicking the color box.
Step 5: Save Your Setup
- Click “Save changes".
