
To publish your app on the Google Play Store, setting up a Google Play Developer account is crucial. This process ensures your app meets Google’s standards and is accessible to users worldwide.
Prerequisites
- Gmail Account: Ensure you have a Gmail account. If you don’t, create one here.
- Two-Step Verification: Set up two-step verification for added security. Follow Google’s guide for instructions here.
- Registration Fee: Be prepared to pay a one-time $25 registration fee.
Step 1: Begin Registration
- Access the Signup Page: Go to Google Play Console Signup.
- Sign In: Make sure you're signed in with the correct Gmail account. The account name will be associated with your Google Play Developer account.
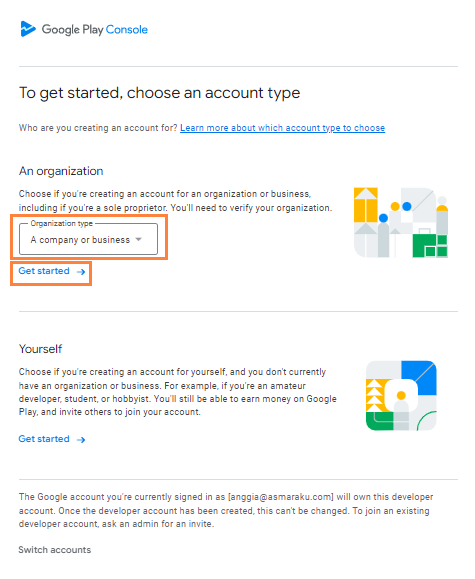
Step 2: Enroll as a Business
- Select Enrollment Type: Choose “A company or business” to enroll.
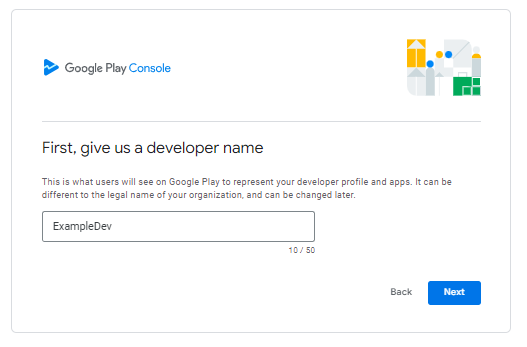
3: Enter Business Information
- Developer Name: Enter your organization’s information. The “Developer Name” you choose will appear below your app’s title in the Play Store.
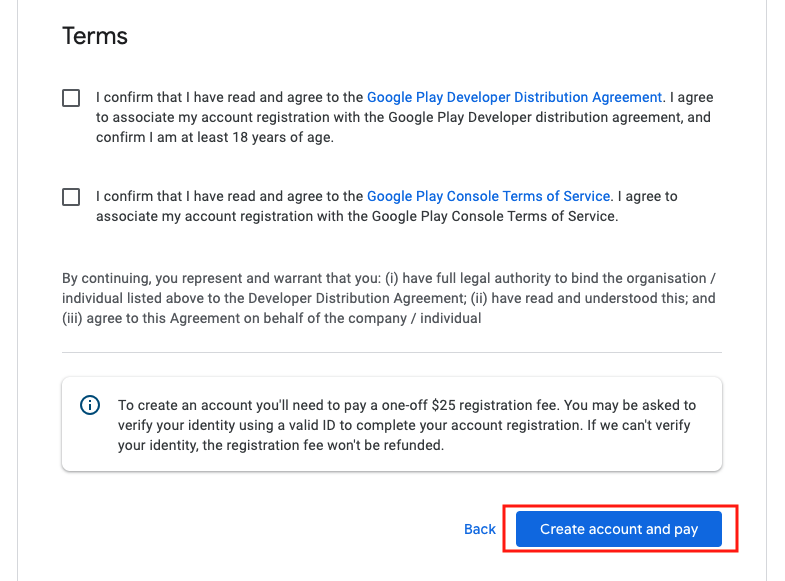
Step 4: Accept Terms
- Terms of Service: Agree to Google’s Terms of Service.
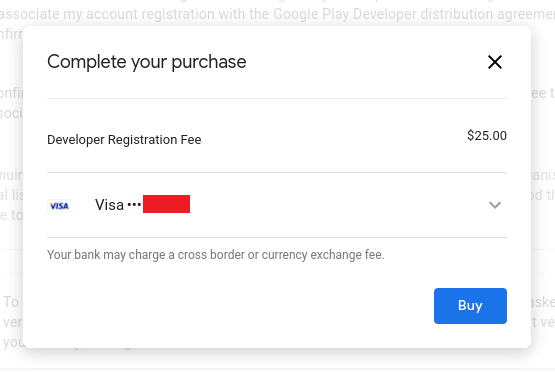
Step 5: Complete Payment
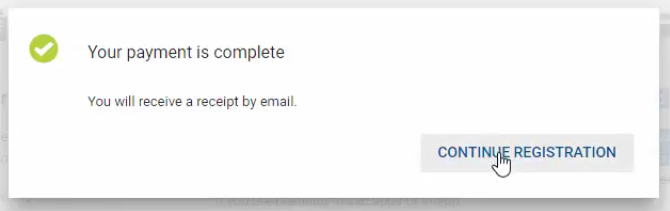
- Create Account and Pay: Click “Create account and pay” enter your payment details and click “Buy” Google will confirm your payment with a dialog box. Click “Continue Registration” to finalize.
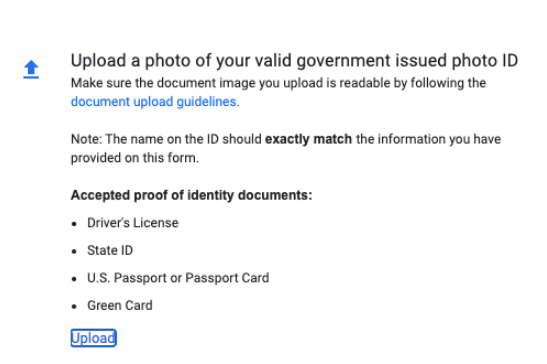
Step 6: Verify Identity
- Identity Verification: Google will prompt you to verify your identity. Enter your name, address, and upload a valid government-issued photo ID.


Next Step:
- Processing Time: Google may take up to two business days to verify your identity and approve your account.