WhatsApp Cloud API campaigns in bitCRM enable businesses to directly engage customers with targeted messages. Whether you want to send updates, promotions, or reminders, this feature lets you craft and schedule campaigns for maximum impact. Set up and schedule your campaign with ease, follow these steps:
Step 1: Go to Campaign dashboard
- Navigate to your bitCRM Campaign dashboard and click "Create new campaign."

Step 2: Select a channel
- Click "WhatsApp Cloud API"

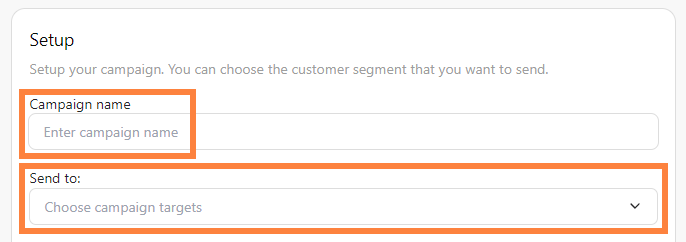
Step 3: Set up your campaign
- Enter "Campaign name" and Choose "Campaign targets" from the dropdown.

Step 4: Schedule message
- Click "Send immediately" or “Schedule send” by selecting the date and time.

Step 5: Message template or Ticket option
- Click “search” for a “Message template" or you can see at How to Create a Message Template for Campaign to find out how to create it. Then optionally, assign the message as a ticket by clicking the checkbox "Convert message into a ticket" then click “Review”.

